Showing posts with label quilts. Show all posts

Friday, February 24, 2012

Eagle Boy Scout Quilt

I was inspired by my cousin to make a quilt for my son when he became and Eagle Scout to honor the special event. She had found a pattern designed by Quilt It editor Angie Hodapp in a magazine and sent me a copy of the directions. Below are two shots of one of her quilts (she made two) using Boy Scout fabric and a few embellishments. It looks like she had this professionally quilted. She used fabric markers to created the eagle and the Eagle medal and appliqued these on her quilts. I chose not to use those on my son's.


I decided to change the colors of my quilt to suit my tastes and I didn't use all Boy Scout fabrics. I was going for a different look from my cousin's original design. Instead of appliqueing the stars on the quilt squares I chose to paper piece my stars (I'm not very good at applique and stay away from it as much as possible). Below is a photo of my finished quilt.


I also used a vintage Boy Scout fabric for the entire back. The blue fabric with the badges (used on the wide border of my front) had a section of fabric with the word TROOP and all the numbers, so I pieced a line on the back of red fabric and used Troop 4 and Troop 278, the two Boy Scout troops my son had been a part of.


In the bottom left corner I used an iron-on label to print on and added it after quilting the piece.


Below are the fabric and cutting requirements for my quilt if you did applique

Block size: 6"       Quilt size: 58"x70"

Yardage is based on 42"-wide fabric. The yardage in parentheses is for borders cut crosswise and pieced.

Fabric                       Yard                    Cut
Red                              5/8                    16A
Blue Novelty Print     1 5/8                     2 side borders 6 1/2"x54 1/2"
                                                               2 top and bottom borders 6 1/2"x42 1/2"
Gold Print                 1 1/8                     7 strips binding 2 1/4"x42", 20 stars (I actually used an
                                                               additional olive fabric for my final binding.)
Brown/Stars               1 3/8                     20A, 16 stars (I actually used a light tan for 20A)
Tan Stripe                     5/8                     31B
Red Print                  2 (5/8)                   2 side borders 2 1/2"x66 1/2"
                                                              2 top and bottom borders 2 1/2"x58 1/2"
Dk Green         1 1/4 or 5 fat 1/4's       62B
Backing                     3 5/8                   2 horizontal panels 38"x62"
Batting                                                  62"x74"

Border dimensions are the exact length required plus seam allowances.
Also need 2 yards lightweight fusible web for fusible applique

ASSEMBLY:

Wash and press the fabrics and cut according to directions


Prepare the stars for fusible applique referring to diagrams. Fuse stars to the A patches. Finish the edges of the stars. Make 20 X blocks and 16 Y blocks. My X blocks were brown on tan and my Y blocks were gold on red. My Z blocks were olive-tan-olive.

Referring to the Z block diagram sew a tan B between 2 olive B's mixing up the prints to keep the text upright. Press the seam allowances away from tan. Make 31 Z blocks. 

Referring to the quilt assembly, arrange the X, Y, and Z blocks into 9 rows, rotating the Z blocks and alternating the stars as shown. Press seam allowances away from the Z blocks. Join the rows. Press the seam allowances between the rows in one direction.

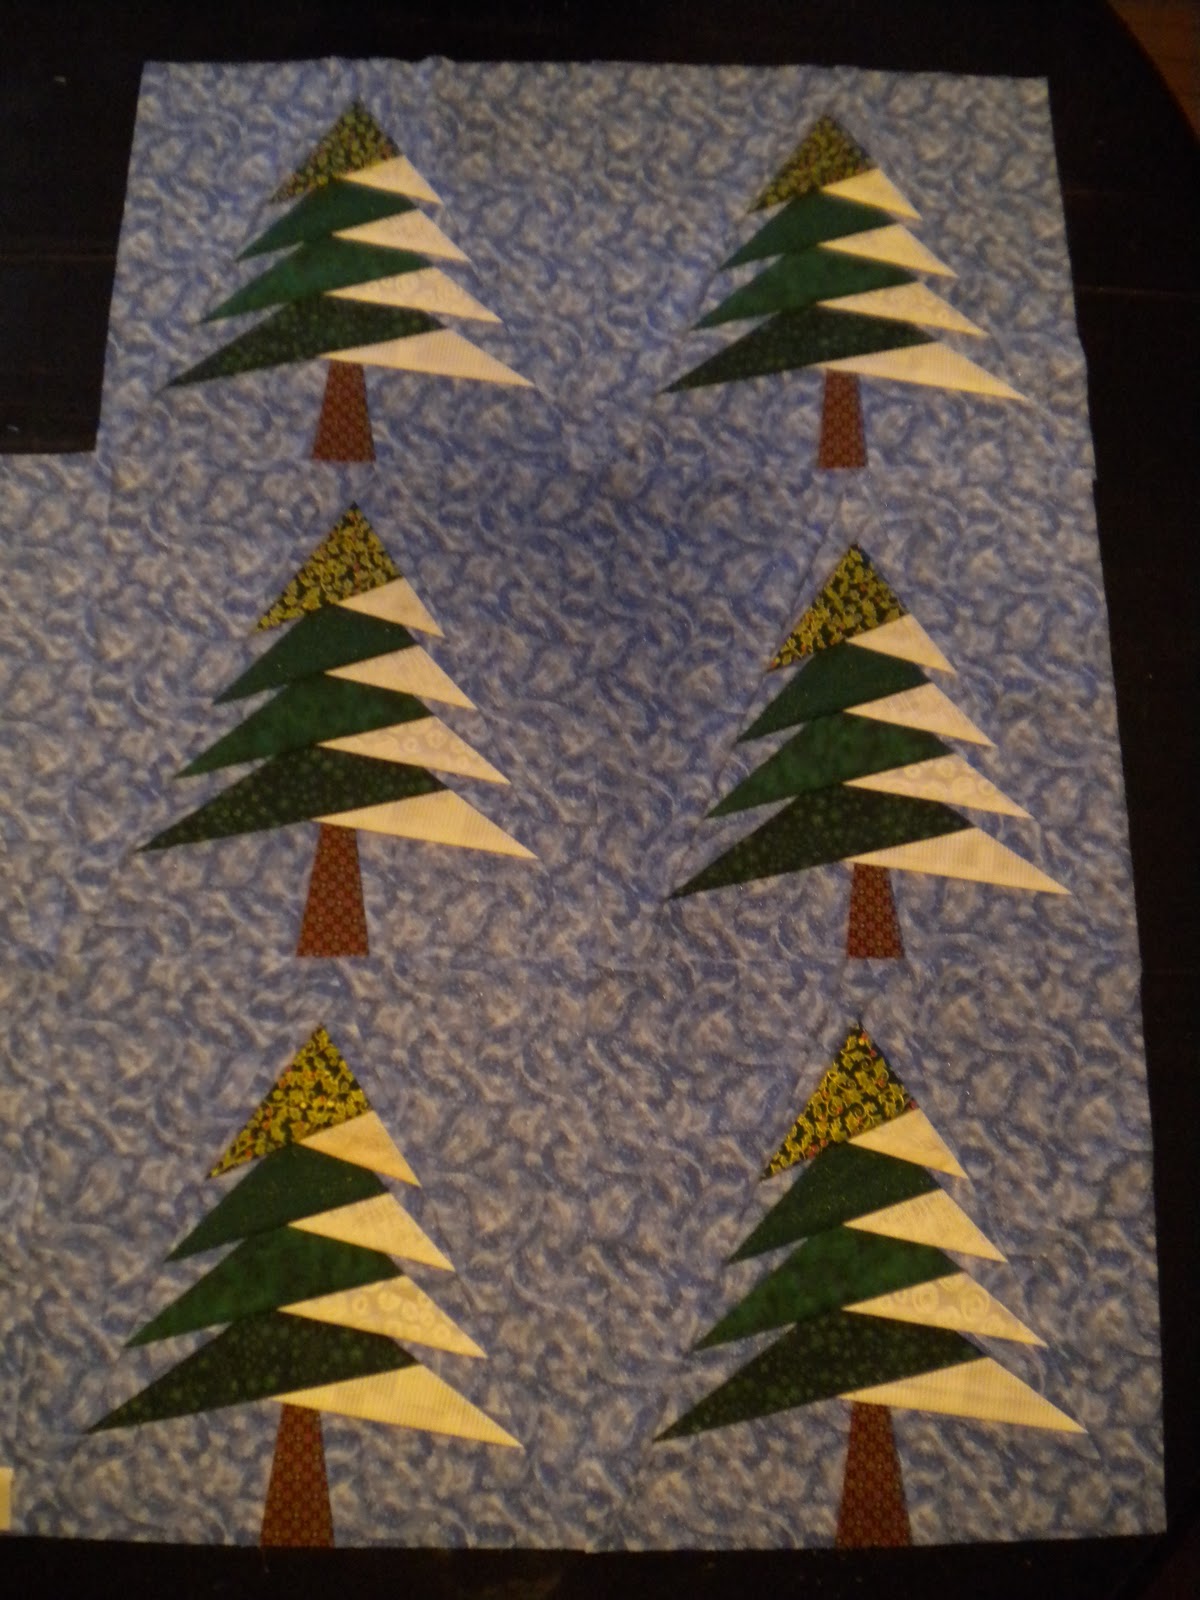
sorry it's upside-down...but you get the picture


Measure the quilt from top to bottom from raw edge to raw edge. Cut the side blue borders this length. Likewise, measure the quilt from side to side and cut the top and bottom blue borders this length. Matching centers and ends, add the side borders. Press the borders away from the quilt. Sew a Z block to each end of the top and bottom borders. Matching centers, ends, and seams, sew the borders to the quilt.

Sew the side red borders to the quilt and trim if necessary. Add the top and bottom borders and trim as needed.

Layer the quilt backing, batting, and top. Baste. Quilt in the ditch around the blocks. I also stitched around each badge in the border. Bind. I used this tutorial for machine binding. Works fantastic!


MY CHANGES:

Below is a close-up of some of my fabric from the top row of stars and stripes to get a better idea of the fabrics I used. I did not use Boy Scout fabric for my star squares because the fabric was so cut-up and pieced. 


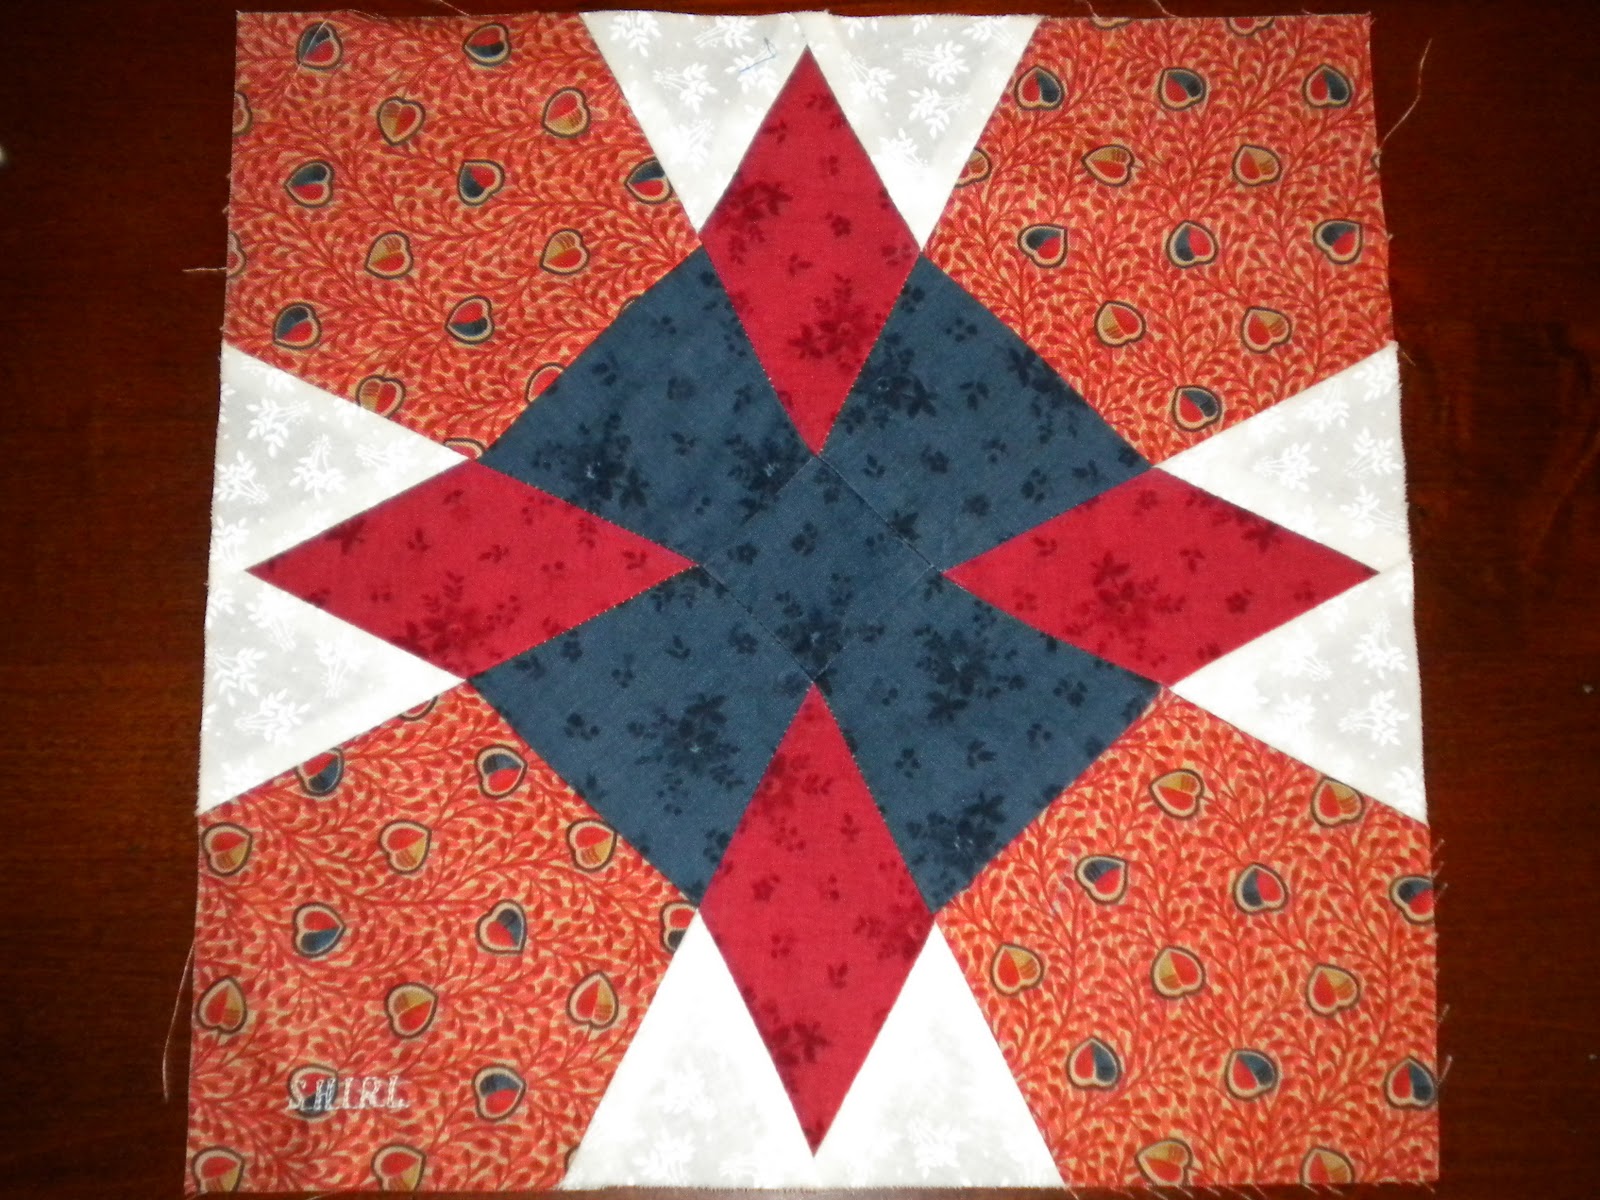
Here is a close-up of the paper pieced star. I printed off a 5" star shape from Microsoft Word and drew the lines in for piecing. See my tutorial for help in making these squares. MY TUTORIAL


Carolyn "Care Bear" King

Friday, February 25, 2011

#1 Free-Motion


Well, I tried my hand at my first ever free-motion quilting. There is definitely room for improvement, but I'm rather please with my "stab." I quilted around the bodies of each crab, did a meandering over the blocks closest to the crabs (looks a little like coral), spiraled a wave in the light blue border, and tried my first feathers in the big blue border. I used a variegated blue thread for the top and the bottom, and I think the back turned out equally as interesting. I'm not the neatest person, but they always say, "Practice, practice, practice."


My backing uses a little bit of some of the fabrics from the front.


I tried a machine binding this time and really like how it turned out. I only had to go over two small areas where I missed catching the fabric on the back side. I sewed the binding on the front side of the quilt and then I pinned the binding to the back just covering my stitching. I pinned every two inches or so. From the front side I stitched-in-the-ditch for the result below.


Here is the back of the binded quilt before adding a sleeve and label.


Below are the sleeves I added to hang the quilt. I divided a sleeve in two so a nail could be used in the center or the two sides.


Here is my label I created on my printer using a June Tailor Iron-On Quilt Fabric Sheet. I blocked out the recipient's name for the photo.


And here is the quilt hanging on some storage shelves in my basement. Not a pretty background, but you get the idea.


Carolyn "Care Bear" King

Monday, February 21, 2011

Quilt top is complete!


All 80"x96" of this baby is put together. I've never made a quilt this large before. My "helpers" even had to stand on chairs to hold this one up. I love the way it turned out.


I hurried and threw it on my bed just to see what it would look like. I'm guessing this will keep us warm for many nights.


Carolyn "Care Bear" King

Sunday, February 20, 2011

Turning Twenty....Again


From my original stash of 20 fabrics for $37.00


I cut out my pieces for 30 blocks and stacked them in piles. That took some time and planning to utilize my fabric in the best possible way. I have plenty left over for other projects. Woo-hoo!


I laid all my pieces into sets of blocks that had no repeating fabrics. It took my best concentration to keep them all organized and in order. (For some reason I couldn't get this photo rotated, sorry).


Here is one block laid out before sewing. I started with the four squares in the upper left corner first and added the rectangle below to make section A. Then I sewed the three blocks in the upper right corner for section B and the three blocks in the bottom to form section C. I sewed A to B and added C at the bottom. 


I ended up with a 16 1/2"x16 1/2" block that looked like this. You can see I didn't actually sew section B the way I had first laid it out. I should have sewed it to the opposite side of the black fabric (oops!) I also turned it clockwise a few times.


Here is another block I did where I flipped the A section upside-down. In some blocks I turned the C section upside-down as well.


Here are 15 of my 30 blocks laid out on the air hockey table. It's coming along rather nicely.

Carolyn "Care Bear" King

Friday, February 11, 2011

The "Eyes" Have It


OK, NOW they look like adorable little crabs! I think they're so cute. They look at you from all directions, just like Mona Lisa's eyes. Just try this: move your body to the left or the right, and you will always see a crab staring you down.

With the border completed, the top is finally finished. Now I'm off to the store to purchase some batting. I'll also be planning a creative backing for this quilt. I've been inspired by other quilt photos I've seen on-line. I'm also going to be doing free-motion quilting for the first time. Wish me luck!


Here is the small wall hanging I'm making for a gift. I ran out of button eyes, so I'll be picking them up from the store as well. Busy, busy, busy.

Carolyn "Care Bear" King

Thursday, February 10, 2011

My Crab Quilt Top is coming along.


I finally finished attaching the blocks of my crab quilt. The next step is to add the borders or the eyes. It all depends on if I want to watch TV tonight or not. I can sew eyes in front of the tube. Below is a picture of my first practice run of the blocks. I turned that into a small wall hanging. Check out my tutorials on the right to see the steps I went through to get this far.


Carolyn "Care Bear" King

Friday, February 4, 2011

My Fabric Finds


Today I went fabric shopping with my neighbor to two quilt shops I'd never been to. They were located in Hagerstown, MD and just north of the state line into Pennsylvania off of Molly Pitcher Hwy. The first shop in PA was called Marianne's. It's a small quilt shop run by a Mennonite family with fabric packed into every corner. When I entered, the proprietor mentioned there was a bin filled with $2/yd fabrics by the window. I immediately immersed myself in the fabrics there and found 11 pieces I thought fit together in a pleasant color scheme. I bought 1/2 yard of each of the fabrics and spent a grand total of $11 plus tax. Such a deal.

Next we headed to Wilson's which is in northern Hagerstown. It was a fancy-schmancy quilt store with lots of beautiful quilts hanging from the walls. I was incredibly inspired. Of course they had bundles of fat quarters (20 for $69.99), but after spending $11 on my 1/2 yards I couldn't think of spending that much today. So my neighbor and I headed to the local JoAnn's for cheaper fabric.

At JoAnn's it took awhile to find the last 9 fabrics to round out my 20, but I finally came up with some good choices. I bought 1/2 yard of each of them for a total of $25.97 (more than twice what I spent on the first 11). I spent about $38 total for my twenty 1/2 yards which averages a mere $3.80/yard. Not a bad bite in my wallet. It's a great deal: better than $13.99/yard for the bundles at Wilson's. Not only that, but I also have an entirely different mix from anyone else. No cookie-cutter fabrics for me today.

While at Wilson's I was particularly inspired by a pattern they had hanging on their wall called "Turning Twenty...Again" and I think this fabric will be a perfect choice for this quilt inspiration.


Carolyn "Care Bear" King

Sunday, January 23, 2011

The Family Christmas Quilt

Well, the Patriotic Family quilt was so successful, my cousin decided we needed to do one for Christmas. This time, however, we only had 9 participants so 3 people agreed to make two different squares. We each made 9 blocks of the same pattern and sent them to my cousin, who divided them up and sent 12 out to each participant.

I decided to try some paper piecing this time and searched the internet for a tree. I found one here and tried it with some scrap material laying around.


It ended up being too long and narrow for my tastes, and I wasn't interested in doing all the work that went into the tree skirt on the original pattern. We were required to make 12 1/2" x 12 1/2" blocks. I ended up scanning the picture and stretching the image fat to make the following square.


The pattern (12 1/2" x 12 1/2" was too big to print on one sheet of copy paper on my printer at home, so I ended up printing it in thirds and taping it together. I definitely recommend using a shortened stitch length when paper piecing to ease in the tearing off of the paper at the end. Here are several of the squares laid out together.


This time we didn't embroider the names on the squares, but my cousin provided a listing printed on fabric of all the squares we could sew to the backs of our quilts.

Here are the squares I received laid out in a pattern on the floor.


I was the only one who used the "blue"...ooops.

I sashed my squares in alternating green and cream fabric and finished with a striped border that I mitered in the corners. (A very tricky technique to get them to match up just right).


The quilt is at the long-arm quilter's house being done in a tannenbaum pattern. I should get it back some time in February.


Here is a photo of my dad's quilt top before quilting.


My uncle finished his quilt and binding first.


My cousin Sandi (the leader of this project) did her quilt with a tree border and a snowflake quilting. She must have been in the long arm quilter's queue early because she was able to get her quilt back before Christmas and enjoy it in 2010. I will have to wait until next December to display mine.


Carolyn "Care Bear" King

Saturday, January 22, 2011

The Patriotic Family Quilt

In July 2009 during a family reunion, my cousin Sandi had the brilliant idea to create a family quilt. We had many sewers and quilters in the family, so she thought we could come up with enough people to create a memorable quilt. She asked which family members would like to participate and ended up with 11 people. Since it's difficult to create a quilt of only 11 squares, my dad volunteered to make two different squares.

A few weeks later my cousin sent out a few fabric swatches to each participant, so we could choose colors that would blend together. There's nothing worse than having two different reds that clash and make your eyes hurt. The theme was a patriotic red, white, and blue one.

Each person was asked to make 11 of the same 10"x10" quilt square, send it to her by January 2010, and she would divide them up into 12 sets of squares to send back to each of us. We also decided to embroider each person's name on the squares, so we could remember who made each one.


I made the Waterwheel square out of patriotic fabric. Since I only found a pattern in a 12"x12" size, I had the task of reducing my square to end up 10.5"x10.5". This square is basically a 9-block, so I had to make each smaller square 3 5/6" which is really difficult. I ended up shooting for 3 7/8" blocks and taking in a scant thread-line more. When I squared up each piece I made sure I trimmed an accurate 10 1/2" block.

Here are some of the other squares that were part of the quilt:

"Night and Day" by my Dad Chuck in Florida

"Pigs in a Blanket" also by my dad Chuck in Florida

"Windy Day" by my sister Cheryl in Tennessee

My Uncle Johnny's square in New Jersey

"Heart in a Snowball" by my Aunt Millie

My cousin Sue's square from California

My Aunt Shirley's square from California

"Flag of Slovakia" by my Aunt Betty and her
granddaughter Christina in Ohio

"Oh, Susannah" by my cousin China and
her daughter Katti in Germany

My cousin Sandi's square from California. This
quilt was her idea

"The Wave Edge" Log Cabin by my cousin
Sharon in California
After I received all my squares, then came the task of making the border. I wanted something interesting to finish it off, and since I didn't make all the squares in the quilt I wanted something that required a little more of my handiwork on the border. I came up with these squares.


They were 36 staggered stars and I got the idea from the Quilter's Attic newsletter. They have wonderful ideas. Here's the website to check out their current newsletters: http://www.quiltersattic.com/. I used fabric from my own square, plus some scraps from my sister and my dad along with some additional quarters I picked up at JoAnn's. Each of the squares is different.


I laid out my squares in various patterns on the floor until I got it just right. Here is a picture of my finished quilt top. It looks like I put it together is the exact reverse of my floor layout.


My dad had the top quilted by a lady in his area in Florida. The pattern is a bunch of stars and swirls.

Close-up of the stitching

I have it hanging in my foyer hallway and am very pleased with how it turned out.


Here are a few of the other quilts made by my father, aunt, and uncle.

Here my dad did a similar pattern with the star border
and he varied his red with blue and blue with red

My uncle finished his in a black sashing
for a stained glass window design
My uncle made a few pillows with extra squares.

My aunt's quilt in tans and creams. She
made a ribbon effect with her border.

The back of my aunt's quilt had a picture
of each participant and how they are
related to her printed on fabric.
None of the others has sent me a picture of their finished quilt, but I'm sure they're working on them diligently.

Carolyn "Care Bear" King